
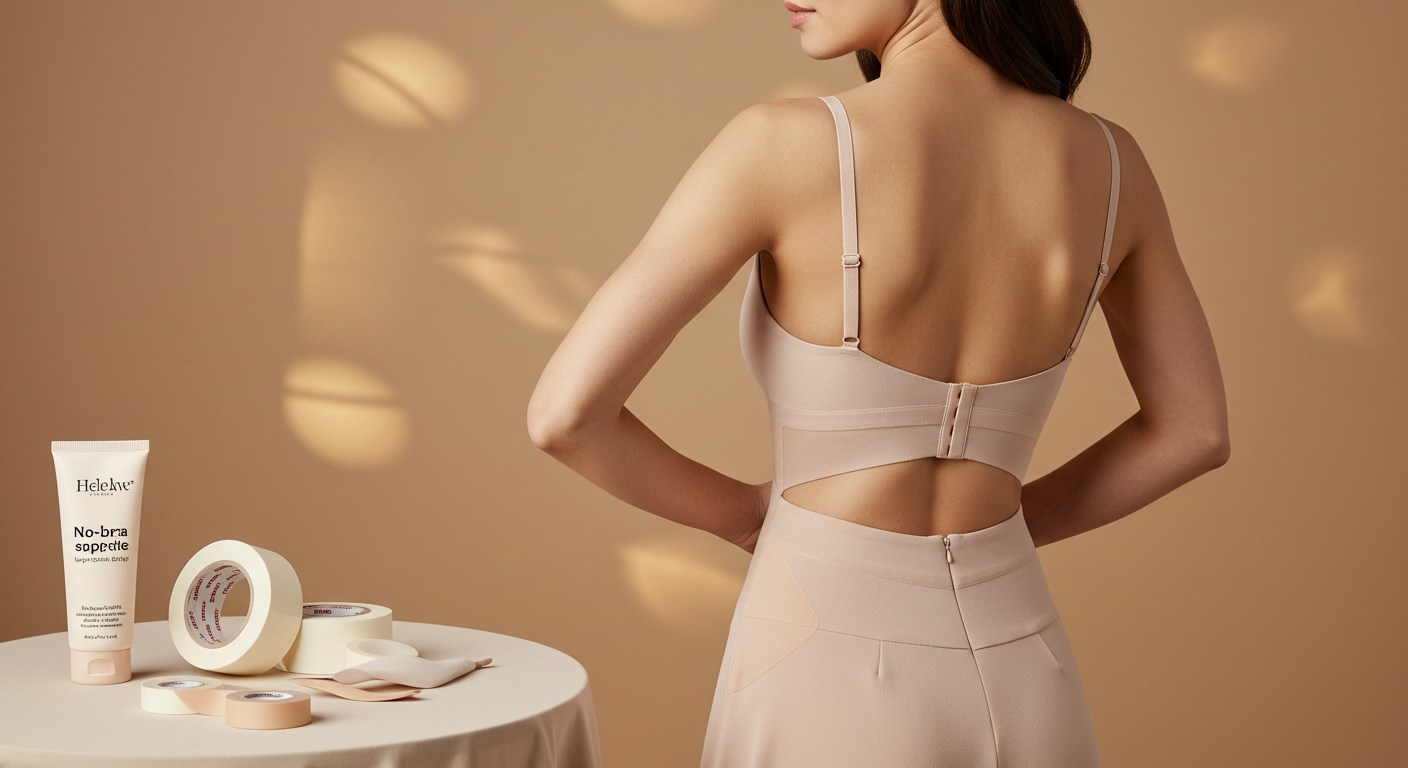
Going braless is a growing trend embraced by many women for comfort, freedom, and style.
If you’re wearing a backless dress, a plunging neckline, or just want to ditch traditional bras, using tape is an excellent alternative for lift and support.
This guide will show you the step-by-step method to achieve a seamless, secure, and stylish look without a bra.
Why Go Braless?
- Comfort: No straps digging into your shoulders or underwire discomfort.
- Style Flexibility: Perfect for outfits where bras don’t work (backless dresses, deep necklines, or sheer tops).
- Natural Feel: Allows your body to breathe better compared to restrictive bras.
- Health Benefits: Some studies suggest reduced bra usage can improve circulation and lymphatic drainage.
What You Need Before You Start
Before applying tape, make sure you have these essentials:
- Boob tape or medical-grade body tape (designed for skin safety and strong hold)
- Nipple covers or pasties (to protect sensitive areas)
- Scissors (to cut the tape to the required size)
- Coconut oil or adhesive remover (for easy and painless removal)
Step-by-Step Guide to Going No-Bra with Tape
Step 1: Clean and Dry Your Skin

Ensure your skin is free from oil, lotion, and powder. Clean skin helps the tape stick better and last longer.
Step 2: Apply Nipple Covers
Nipple covers protect sensitive areas from adhesive irritation. If you don’t have nipple covers, you can use a small piece of non-adhesive gauze.
Step 3: Plan Your Style
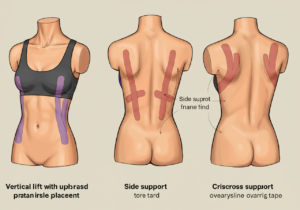
Decide how you want your breasts to be lifted. You can place tape in different directions based on your outfit:
- Vertical Lift: For deep-neck or strapless tops, apply tape from under the breast upwards.
- Side Support: For cleavage-enhancing looks, place the tape from the sides towards the center.
- Cross Lift: For additional hold, use crisscross tape patterns for extra support.
Step 4: Stick and Pull
Start placing the tape under your breast, then gently pull it upwards or towards the desired direction before sticking it onto your skin. Make sure there are no wrinkles to keep the lift natural.
Step 5: Adjust, Trim & Perfect
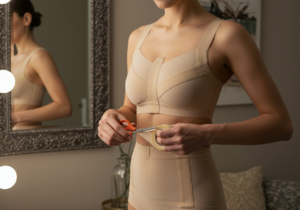
Once you have the tape in place, check for any uneven spots. Trim excess tape to make it look seamless. If you feel discomfort, reposition the tape with a fresh piece. Never reuse tape once removed.
Step 6: Remove After 8 Hours
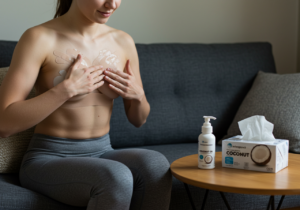
Never keep the tape on for too long to avoid skin irritation. Apply coconut oil or baby oil over the tape and let it sit for 15 minutes before gently peeling it off for painless removal.
Tips for a Long-Lasting No-Bra Look
- Choose quality boob tape – Low-quality tape may not hold well or could irritate your skin.
- Do a patch test – If using tape for the first time, apply a small piece on your skin for a few hours to check for reactions.
- Avoid applying on broken or sensitive skin – If you have any cuts or rashes, avoid using tape until fully healed.
- Layer the tape properly – For extra support, use multiple layers, especially if you have a heavier bust.
Frequently Asked Questions (FAQs)
1. Is boob tape safe for all skin types?
Yes, but if you have sensitive skin, choose hypoallergenic tape and always do a patch test first.
2. How long can I wear boob tape?
It’s recommended not to exceed 8 hours to prevent skin irritation.
3. Can I reuse boob tape?
No, once removed, the tape loses its adhesive strength and should be replaced with a fresh piece.
4. Will boob tape work for larger breasts?
Yes! Use stronger medical-grade tape and multiple layers for added support.
5. How do I remove boob tape without pain?
Apply coconut or baby oil over the tape and let it sit for 15 minutes before gently peeling it off.
Conclusion
Going braless has never been easier with the right tape technique.
If you’re dressing up for a night out or simply want the freedom of no bra, following this guide will ensure you achieve a comfortable and stylish lift.
Try it out and embrace the confidence of a no-bra look effortlessly!